Azure App Service Container
Deploy FoxIDs in your Azure tenant as your own private cloud.
A FoxIDs installation is self-contained, has few external dependencies, and can achieve very high uptime with little effort.
FoxIDs is updated by updating the two Docker images www.foxids.com/foxids:x.x.x and www.foxids.com/foxidscontrol:x.x.x
to a new version. New FoxIDs releases are backward compatible. Please review the release notes before updating. You can also find the current Docker image version listed there.
A valid licence is required to access the FoxIDs releases. From there, you can generate a secret to authenticate with the Docker image registry at www.foxids.com, which uses Basic authentication.
FoxIDs is deployed in the resource group FoxIDs (optional name) where you need to be Owner or Contributor and User Access Administrator on either subscription level or resource group level.
You can do a small deployment to Azure with low resource consumption at an Azure price of around EUR 80 to EUR 100 per month.
The Azure container deployment includes:
- Two App Services, one for the FoxIDs site and one for the FoxIDs Control site (Client and API). Both App Services are hosted in the same Linux App Service plan.
- FoxIDs is deployed with two Docker images
www.foxids.com/foxids:x.x.xandwww.foxids.com/foxidscontrol:x.x.x. - Key Vault. Certificates and secrets are saved and handled in Key Vault.
- Cosmos DB. Contains all data including tenants, environments and users. Cosmos DB is a NoSQL database and data is saved in JSON documents.
- Redis cache. Holds sequences (e.g., login and logout), data cache to improve performance and handle counters to secure authentication against various attacks.
- Application Insights and Log Analytics workspace. Logs are sent to Application Insights and queried in Log Analytics workspace.
- Virtual network (VNet) with subnets.
- Subnet for App services, Cosmos DB and Key Vault.
- Subnet with Private Link to Redis.
Another alternative option is to deploy FoxIDs with Kubernetes (K8s) in Azure Kubernetes Service (AKS).
Parameters in ARM template
Set the parameters during deployment, or download the ARM templates here and update the parameters in azuredeploy.json or azuredeploy-small.json:
appServicePlanSize- App Service plan instance size. Defaults toP1V3inazuredeploy.jsonandP0V3inazuredeploy-small.json.appServicePlanSku- App Service plan pricing tier. Defaults toStandard.keyVaultSkuName- Key Vault SKU. Defaults toStandard.sendgridFromEmail- Optional SendGrid sender email address.sendgridApiKey- Optional SendGrid API key.foxidsVersion- FoxIDs Docker image version.dockerRegistryCustomerId- Username, your customer ID.dockerRegistryPullSecret- Password, your pull secret.
You can also deploy from the command line by providing the parameters directly. The username is your customer ID and the password is your pull secret:
az deployment group create --resource-group FoxIDs --template-file azuredeploy.json --parameters foxidsVersion=<foxids-version> dockerRegistryCustomerId=<customer-id> dockerRegistryPullSecret=<pull-secret>
Send emails with Sendgrid or SMTP
FoxIDs supports sending emails with SendGrid and SMTP as email provider. FoxIDs also supports sending SMS messages with configured SMS providers.
First login and admin users
After a successful deployment, open FoxIDs Control Client on https://foxidscontrolxxxxxxxxxx.azurewebsites.net (the app service starting with foxidscontrol...) which brings you to the master tenant.
The default admin user is admin@foxids.com with password FirstAccess! (you are required to change the password on first login)
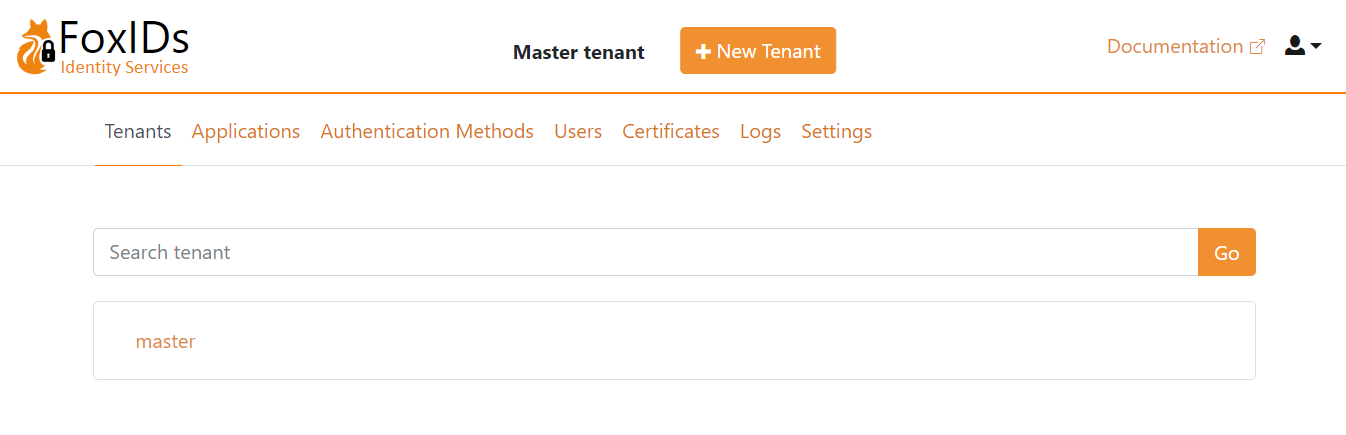
Optionally navigate to the Users tab, create more admin users and grant the users the admin role with the value foxids:tenant.admin.
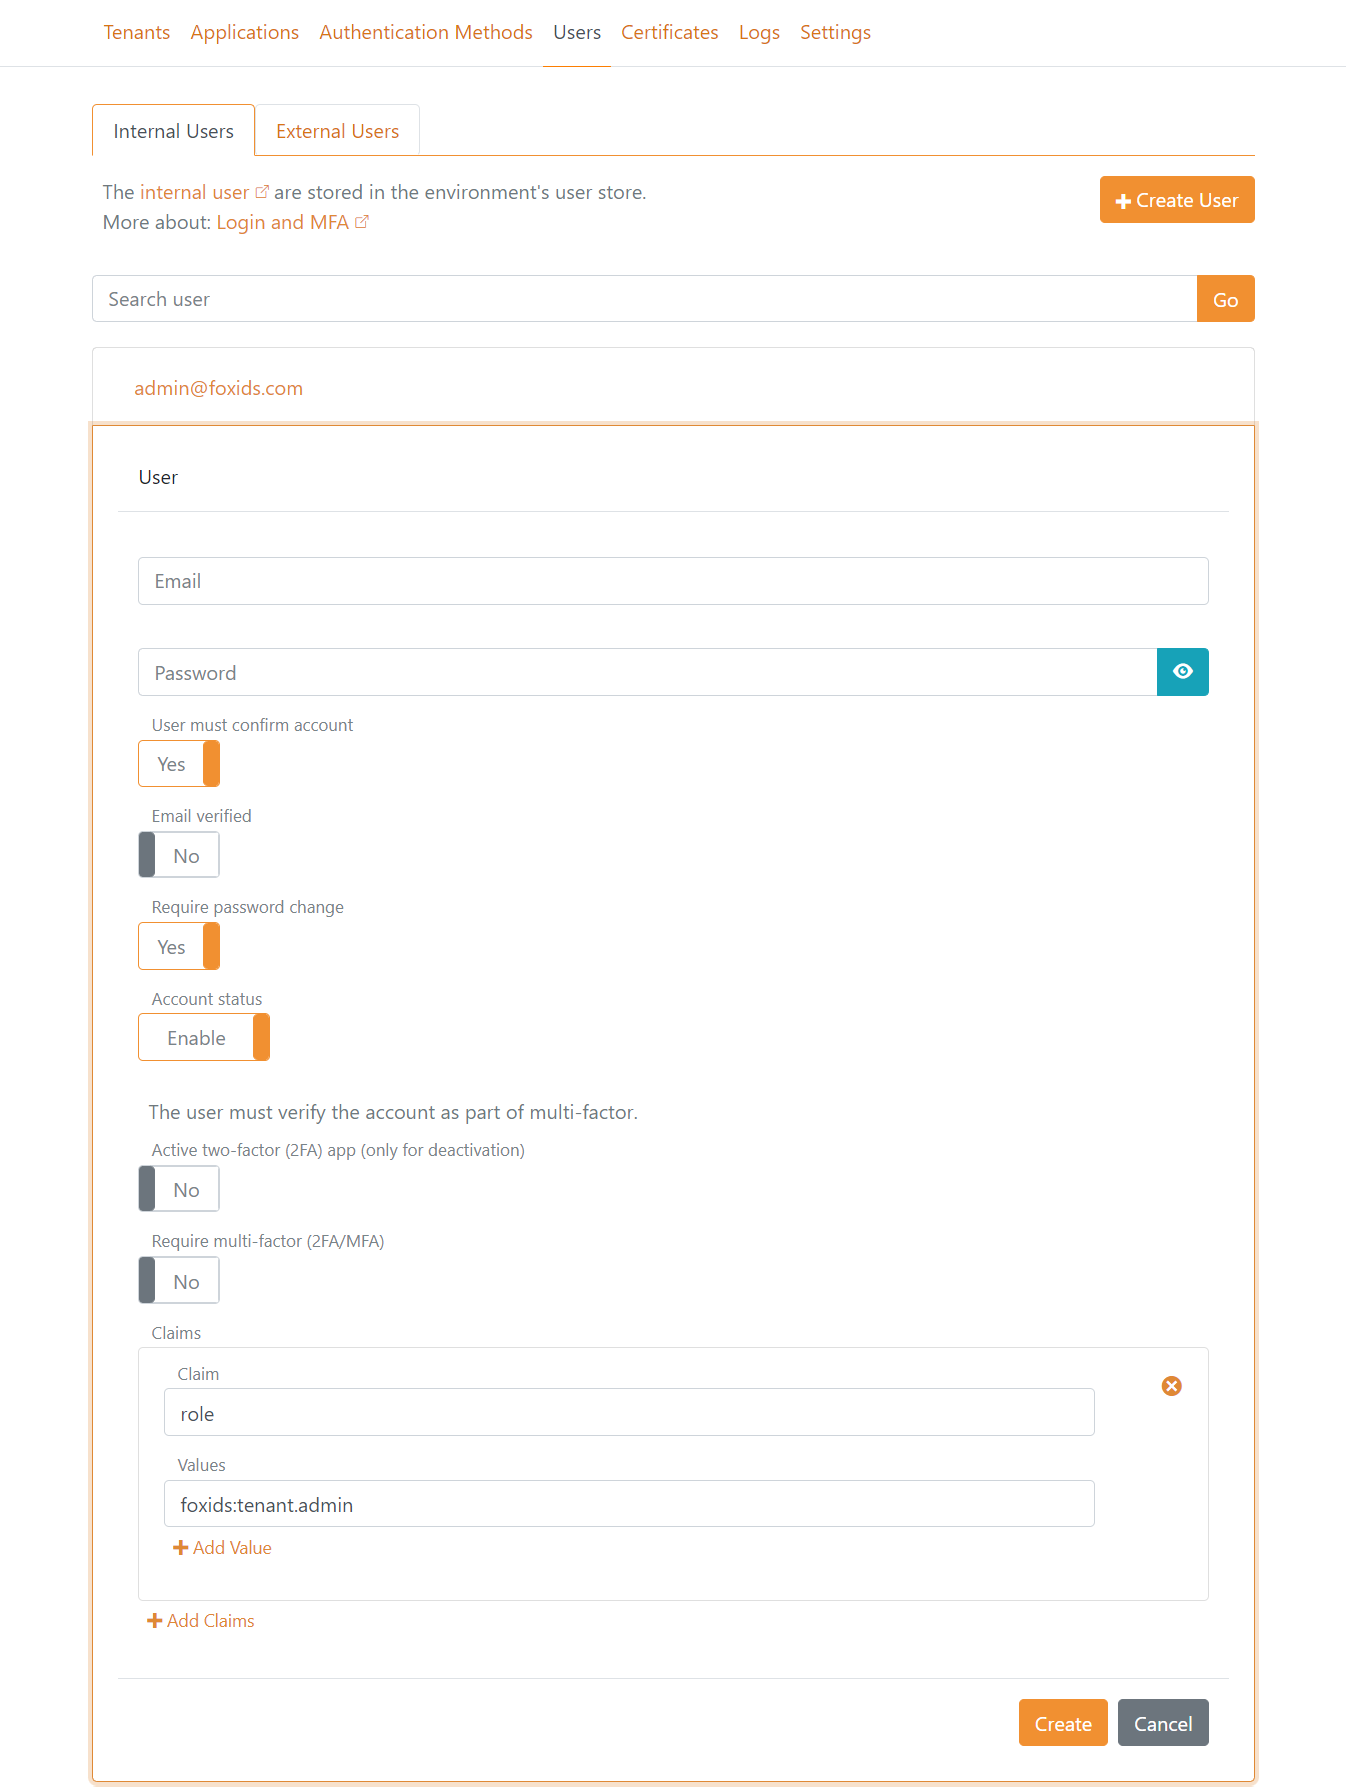
You should generally not change the application registrations and authentication methods configuration in the master tenant, unless you are sure about what you are doing.
Instead, continue with the next step to create a main tenant.
Create main tenant
Create a main tenant for your environments.
Consider custom domains before creating the
maintenant.
Click New Tenant and create the main tenant.
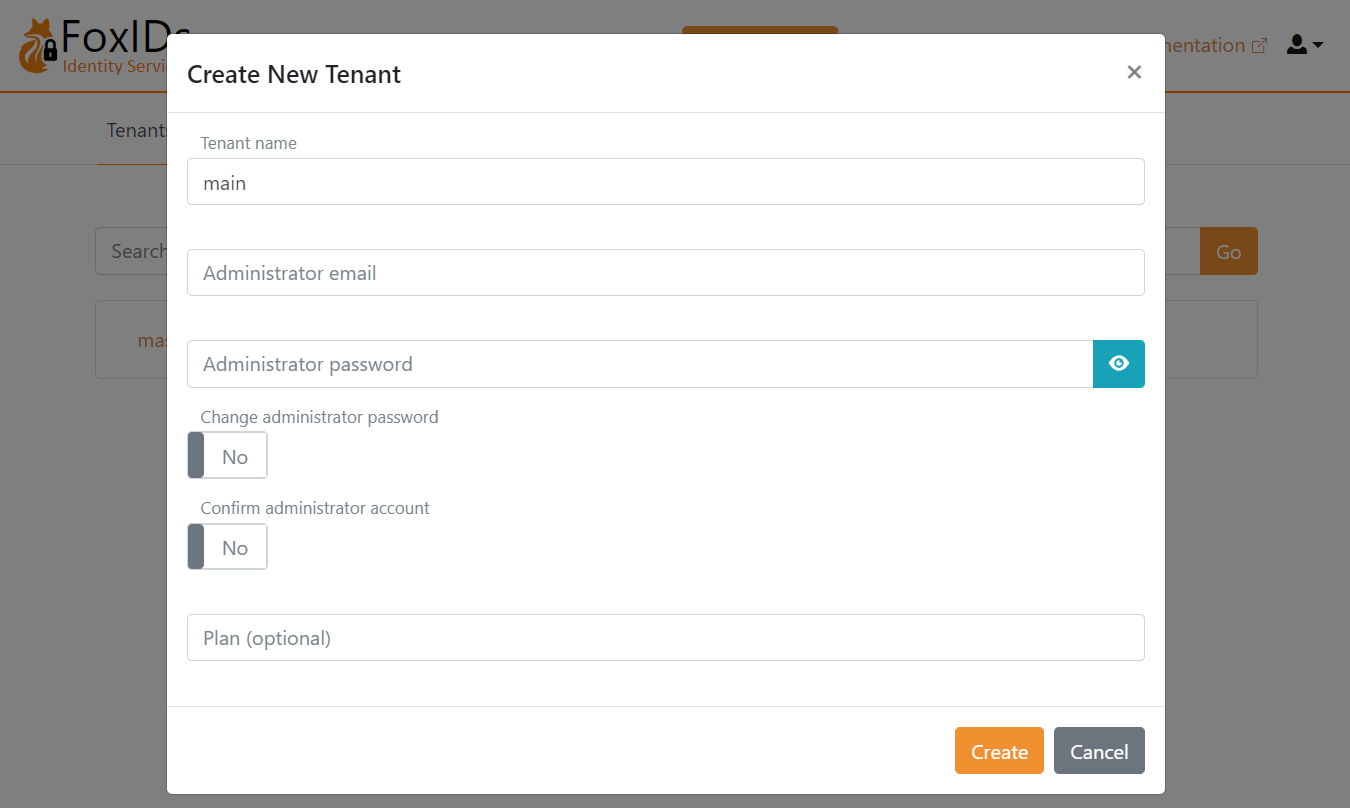
Log in to the main tenant where you can start to configure your applications and authentication methods.
Custom domains
Custom domains are configured with custom primary domains and a custom domain on the main tenant.
Custom primary domains
The FoxIDs and FoxIDs Control sites' primary domains can be customised. The new primary custom domains can be configured on the App Services or by using a reverse proxy.
Important: change the primary domain before adding tenants.
Domains:
- The FoxIDs site's default domain is
https://foxidsxxxx.azurewebsites.netwhich can be changed to a custom primary domain like e.g.,https://somedomain.comorhttps://id.somedomain.com - The FoxIDs Control site's default domain is
https://foxidscontrolxxxx.azurewebsites.netwhich can be changed to a custom primary domain like e.g.,https://control.somedomain.com
The FoxIDs site supports one primary domain and multiple custom domains which are connected to tenants other than the master tenant. The FoxIDs Control site only supports one primary domain.
Configure new primary custom domains:
Log in to FoxIDs Control Client using the default/old primary domain. Select the
Applicationstab then clickOpenID Connect - foxids_control_clientand clickShow advanced.- Add the FoxIDs Control site's new primary custom domain URL to the
Allow CORS originslist without a trailing slash. - Add the FoxIDs Control Client site's new primary custom domain login and logout redirect URIs to the
Redirect URIslist including the trailing/master/authentication/login_callbackand/master/authentication/logout_callback.
If you have added tenants before changing the primary domain, the
OpenID Connect - foxids_control_clientconfiguration must be carried out in each tenant.- Add the FoxIDs Control site's new primary custom domain URL to the
The custom primary domains are configured on each App Service or by using a reverse proxy. Depending on the reverse proxy you are using, you might also be required to configure the domains on each App Service:
- If configured on App Services: add the custom primary domains in Azure portal on the FoxIDs App Service and the FoxIDs Control App Service under the
Custom domainstab by clicking theAdd custom domainlink. - If configured on reverse proxy: the custom primary domains are exposed through the reverse proxy.
- If configured on App Services: add the custom primary domains in Azure portal on the FoxIDs App Service and the FoxIDs Control App Service under the
Then configure the FoxIDs site's new primary custom domain in the FoxIDs App Service under the
Environment variablestab:- The setting
Settings__FoxIDsEndpointis changed to the FoxIDs site's new primary custom domain.
- The setting
Configure the FoxIDs site's and FoxIDs Control site's new primary custom domains in the FoxIDs Control App Service under the
Environment variablestab:- The setting
Settings__FoxIDsEndpointis changed to the FoxIDs site's new primary custom domain. - The setting
Settings__FoxIDsControlEndpointis changed to the FoxIDs Control site's new primary custom domain.
- The setting
Custom domain on main tenant
You can achieve a shorter and prettier URL where the tenant element is removed from the URL. By configuring the FoxIDs site custom primary domain on the main tenant as a custom domain.
Custom domains are supported if the FoxIDs site is behind a reverse proxy that can do domain rewrite.
Alternatively, FoxIDs supports custom domains by reading the HTTP request domain and using the domain as a custom domain if the Setting__RequestDomainAsCustomDomain setting is set to true in the FoxIDs App Service Environment variables.
The FoxIDs App Service needs to be configured with the custom domain in this case.
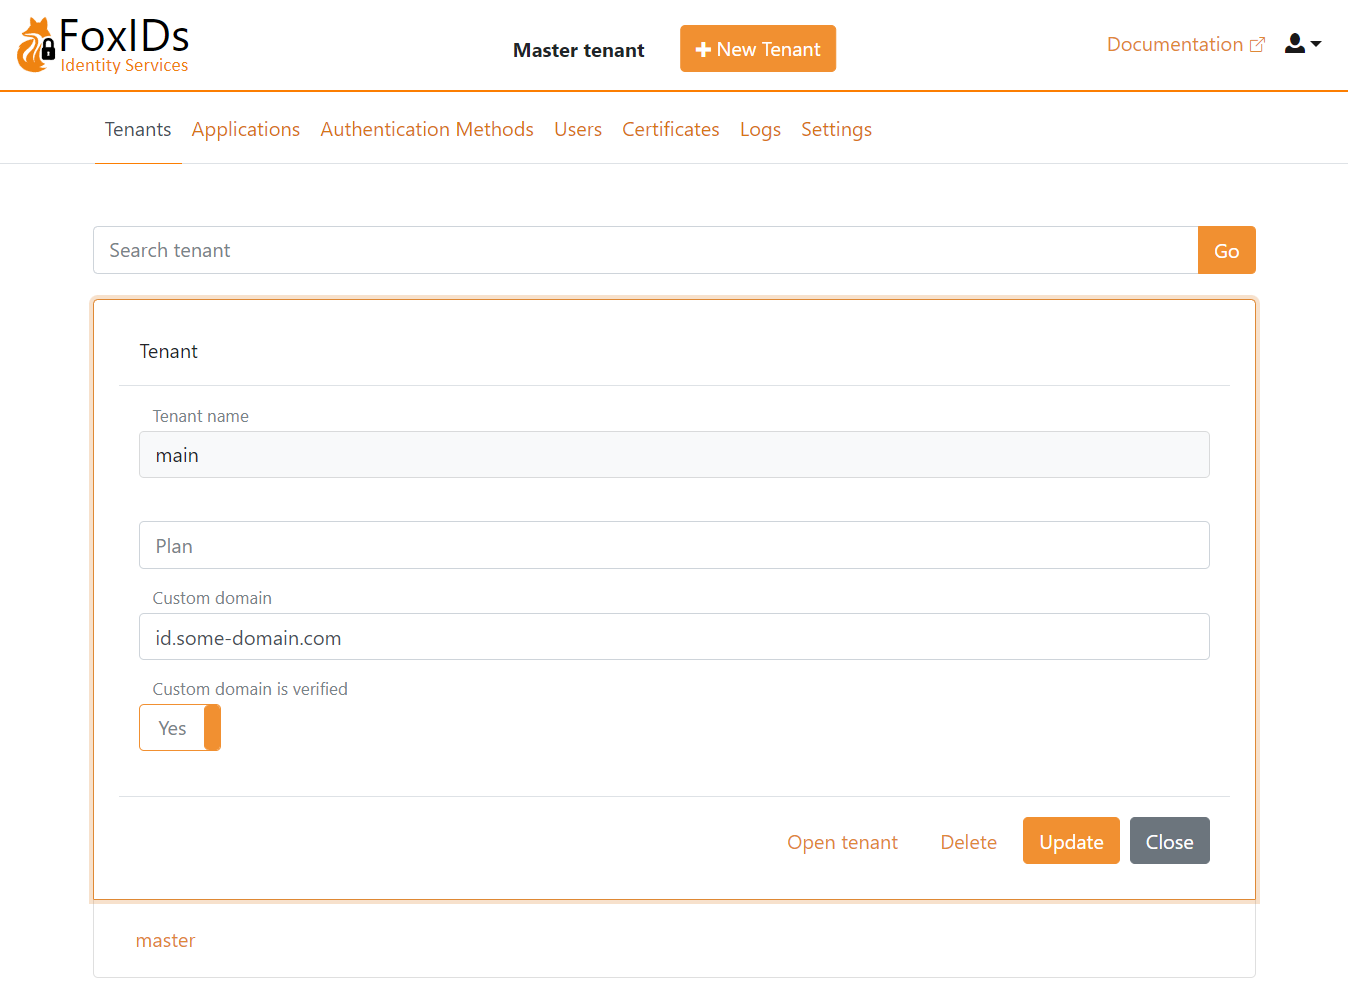
The domain is configured on the main tenant and marked as verified in the master tenant.
Reverse proxy
It is recommended to place both the FoxIDs Azure App Service and the FoxIDs Control Azure App Service behind a reverse proxy.
Azure Front Door
Azure Front Door can be configured as a reverse proxy. Azure Front Door rewrite domains by default.
Do NOT enable caching. The
Accept-Languageheader is not forwarded if caching is enabled. The header is required by FoxIDs to support cultures.
Configuration:
- Add an Azure Front Door endpoint for both the FoxIDs App Service and the FoxIDs Control App Service
- In the Networking section of the App Services. Enable access restriction to only allow traffic from Azure Front Door
- Add the
Settings__TrustProxyHeaderssetting with the valuetruein the FoxIDs App ServiceEnvironment variables - Disable Session affinity
- Optionally configure WAF policies
Alternative reverse proxy
You can optionally select an alternative reverse proxy.
Restrict access Optionally restrict access if you are using another reverse proxy other than Azure Front Door.
Both the FoxIDs and FoxIDs Control sites can restrict access based on the X-FoxIDs-Secret HTTP header.
The access restriction is activated by adding a secret with the name Settings--ProxySecret in Key Vault.
Grant your IP address access through the Key Vault firewall

Grant your user List and Set permissions in Access policies.
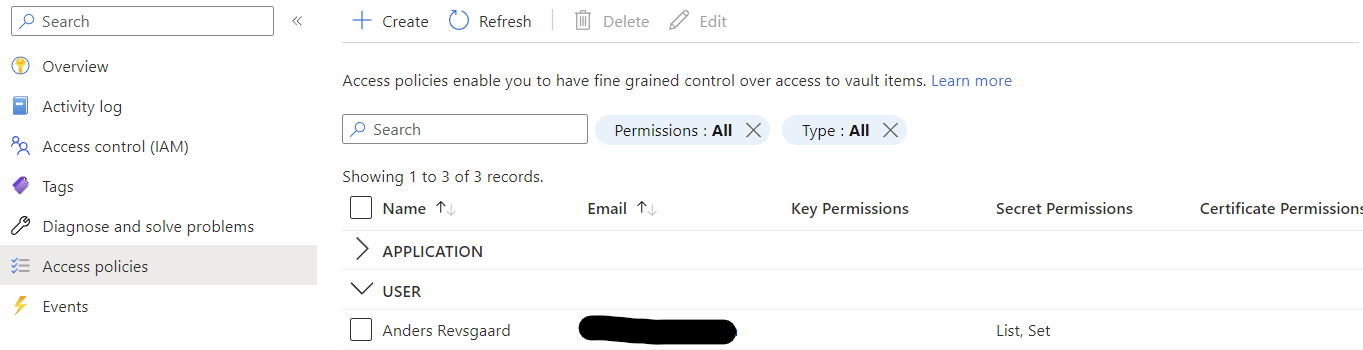
Add the
Settings--ProxySecretsecret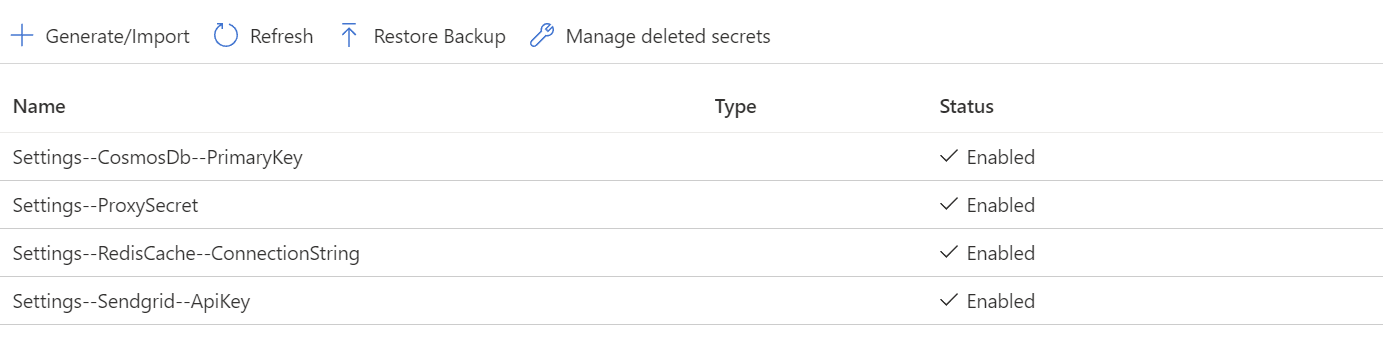
After successful configuration, remove your IP address and permissions.
The App Services need to be restarted to read the secret.
After the reverse proxy secret has been configured in Key Vault the reverse proxy needs to add the X-FoxIDs-Secret HTTP header in all backend calls to FoxIDs to get access.
Specify default page
An alternative default page can be configured for the FoxIDs site using the Settings__WebsiteUrl setting with e.g. the value https://www.foxidsxxxx.com in the FoxIDs App Service Environment variables.
Troubleshooting deployment errors
Key Vault soft deleted
If you have deleted a previous deployment, the Key Vault is soft-deleted and can still exist with the same name for some months. In this case, you can experience getting a 'ConflictError' with the error message 'Exist soft deleted vault with the same name.'.
The solution is to delete (purge) the old Key Vault, which will release the name.