External Login - API
With external login you can authenticate users in an existing user database through an API call. You implement the API; FoxIDs calls it with a username and password, and the API validates the combination and returns success or failure.
Use an External login authentication method when you want to leverage an existing user store as an authentication source in FoxIDs.
After successful login you can create external users and optionally show a dialog to capture e.g. name or email.
Over time you can migrate users into FoxIDs and phase out the external API and user store.
For an overview of user concepts (internal users, external users and external user stores) see the users overview.
External login supports two user identifiers (username) types:
- Email - the user's email
- Text - a free-form text username
If you choose the text type, the format is not validated in FoxIDs (mixed formats are allowed including using emails).
Home realm discovery (HRD) based on domain is only available with the email type.
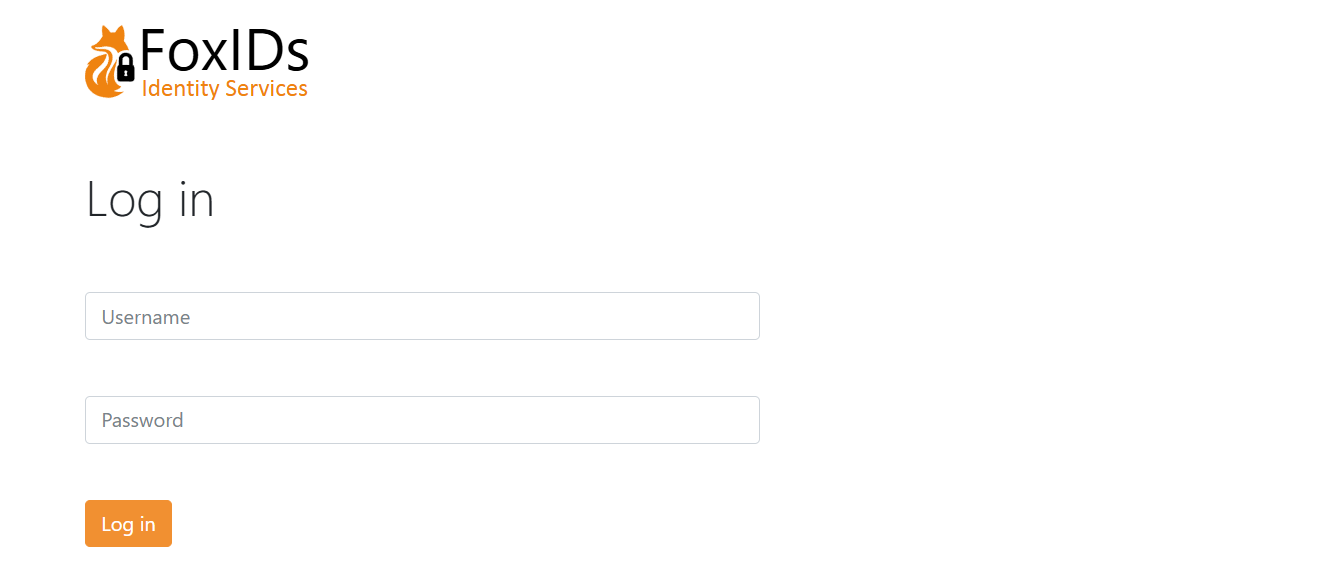
Default external login UI with a text-based username:

The UI can be customised.
Implement API
You must implement a simple API that FoxIDs calls for each authentication request (see sample).
The API has a base URL; functionality is grouped into folders. Currently only the authentication folder (validate username/password) is supported.
Folders for password change and user creation may be added later.
If the base URL is https://somewhere.org/mystore, the authentication endpoint is: https://somewhere.org/mystore/authentication
FoxIDs Cloud calls your API from IP
57.128.60.142.
IP(s) can change or be expanded.
Request
Secured with HTTP Basic auth: username external_login, password = configured secret.
The call is HTTP POST with a JSON body.
You can configure additional parameters; they are included in the JSON payload.
Email type request:
{
  "usernameType": 100,
  "username": "user1@somewhere.org",
  "password": "testpass1"
}
Text username type request:
{
  "usernameType": 200,
  "username": "user1",
  "password": "testpass1"
}
Username type codes:
- email = 100
- text = 200
Response
Success
On success the API should return HTTP code 200 and optionally a list of claims for the authenticated user.
For example, the user's sub (unique ID / username), name, email and maybe e.g. a role:
{
  "claims": [
    { "type": "sub", "value": "somewhere/user2" },
    { "type": "given_name", "value": "Joe" },
    { "type": "family_name", "value": "Smith" },
    { "type": "email", "value": "user2@somewhere.org" },
    { "type": "role", "value": "some_access" }
  ]
}
Error
The API must return HTTP code 401 (Unauthorized) and an error (required) if the Basic auth is rejected. Optionally add an error description in ErrorMessage.
{
  "error": "invalid_api_id_secret",
  "ErrorMessage": "Invalid API ID or secret"
}
The API must return HTTP code 400, 401 or 403 and an error (required) if the username and password combination is rejected. Optionally add an error description in ErrorMessage.
{
  "error": "invalid_username_password",
  "ErrorMessage": "Invalid username or password."
}
If other errors occur, the API should return HTTP code 500 or another appropriate error code.
It is recommended to add a technical error message ErrorMessage for diagnostics (it is only logged; never shown to the end user).
API Sample
The sample ExternalLoginApiSample show how to implement the API in ASP.NET Core.
Postman collection external-login-api.postman_collection.json to call and test your API with Postman.
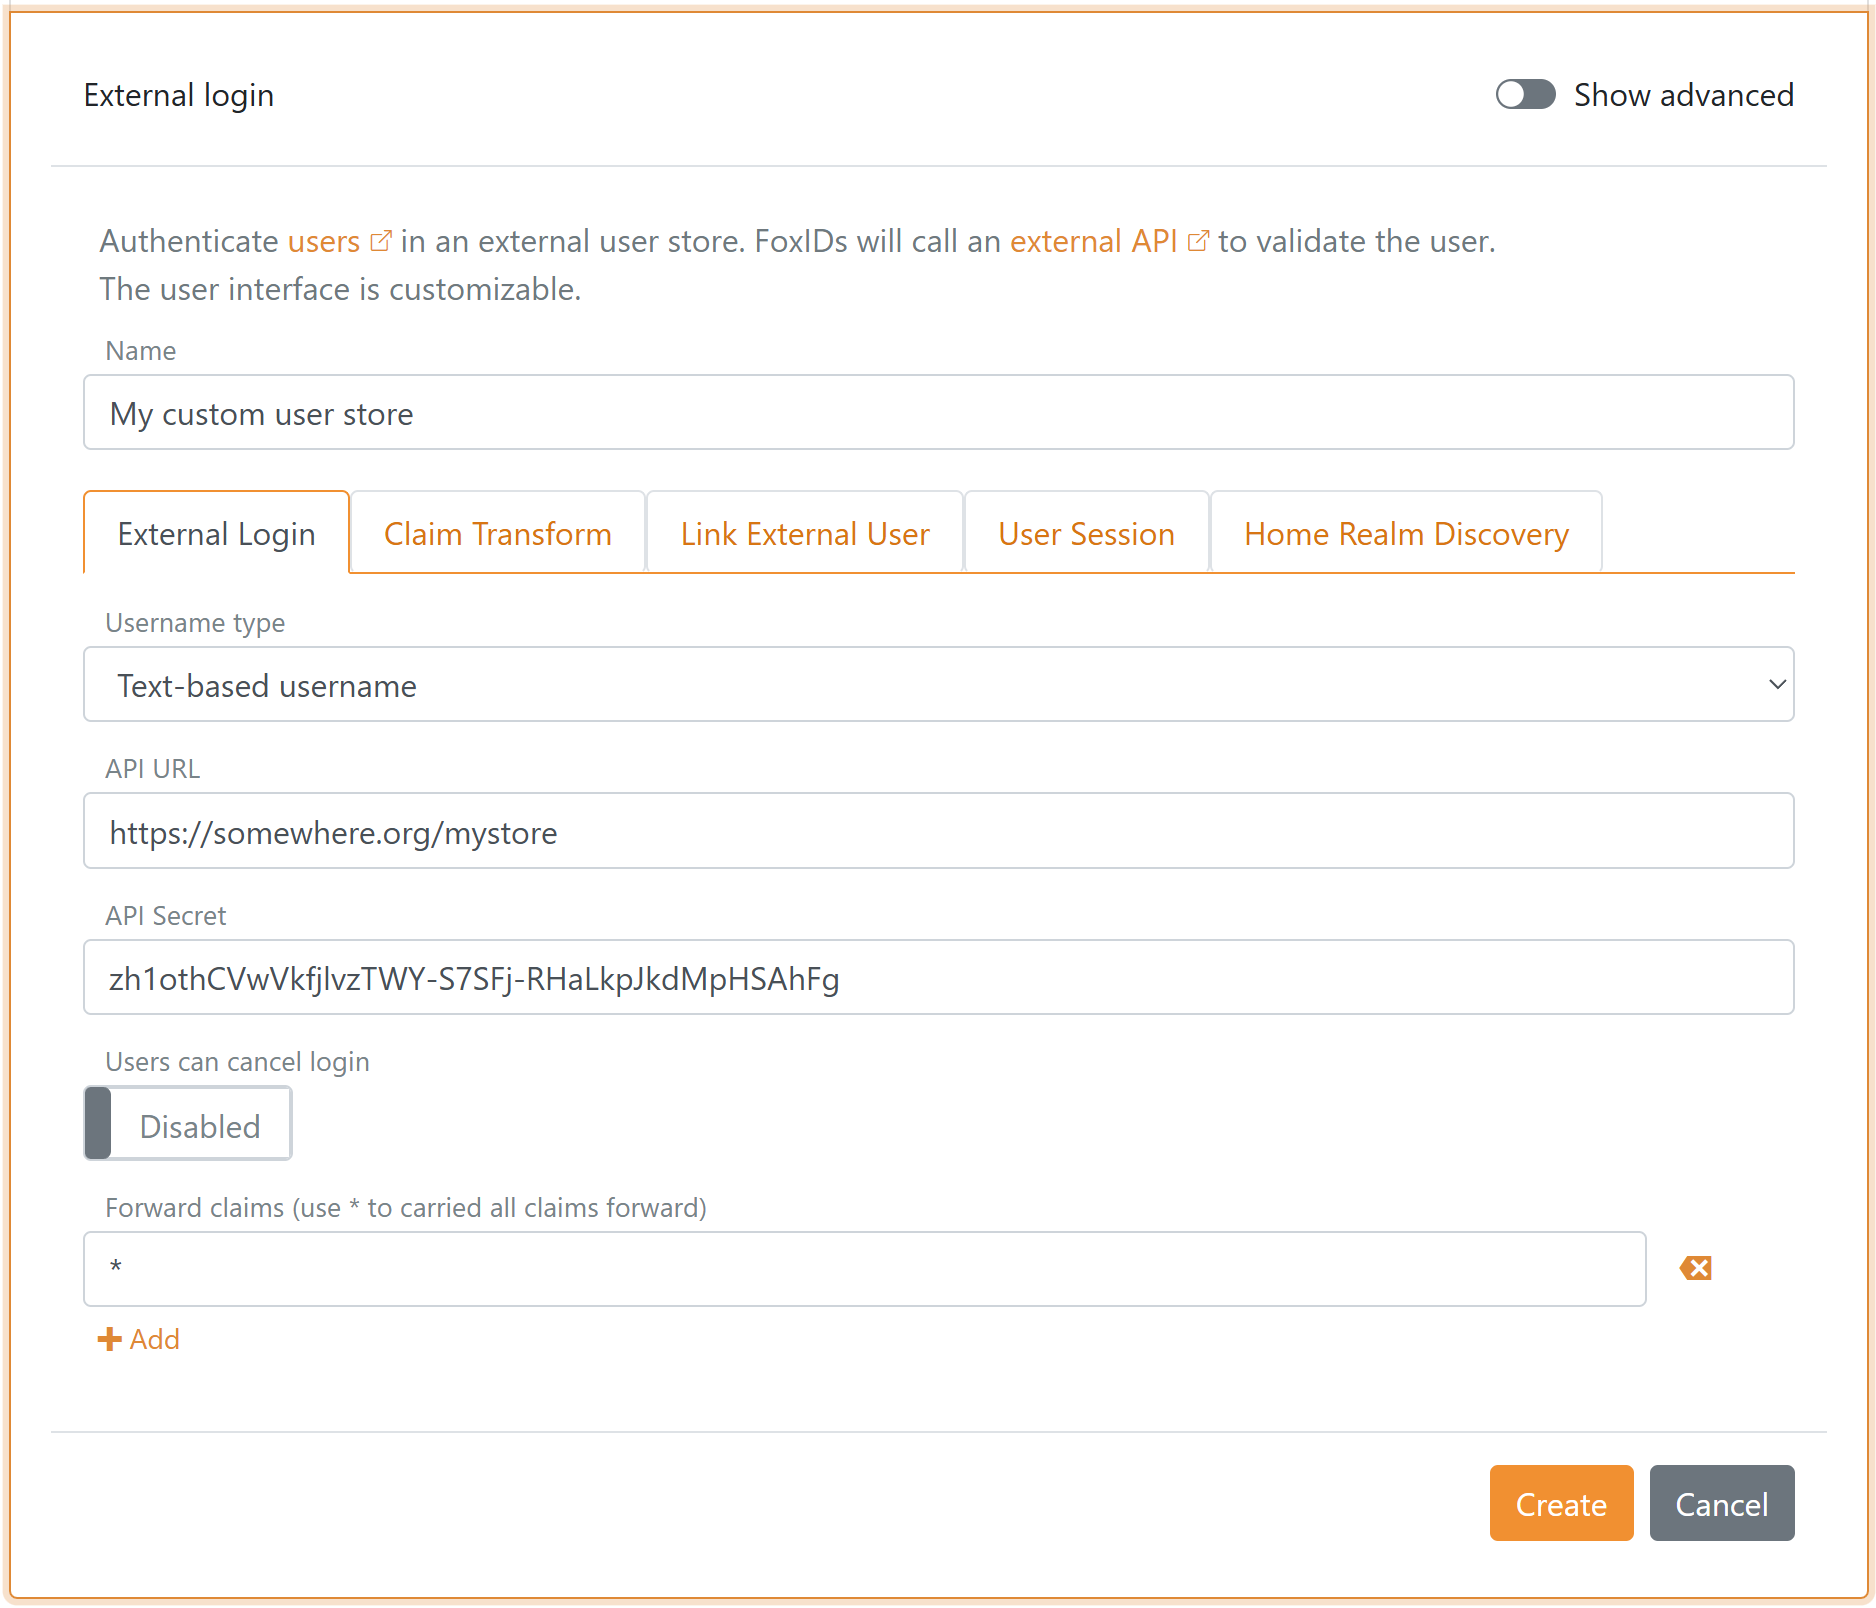
Configure
Configure an external API login authentication method in FoxIDs Control Client.
- Navigate to the Authentication tab
- Click New authentication
- Select Show advanced
- Select External API Login
- Add the Name
- Select Username type (e.g. Text)
- Add the base API URL without the
authenticationfolder in API URL - Add the API secret

- Click Create
Optionally click Show advanced in the top right corner of the configuration section to customised the login UI.