Custom domain
Each FoxIDs tenant can be configured with a custom domain. A tenant connected to a custom domain does not include the tenant name in the URL like a tenant without a custom domain.
- A default tenant e.g.,
mainwithout a custom domain would on FoxIDs.com result in a URL like thishttps://foxids.com/main/some-environment/.... - If the same tenant is connected to a custom domain e.g.,
my-domain.comthe URL on FoxIDs.com would behttps://my-domain.com/some-environment/...without the tenant element.
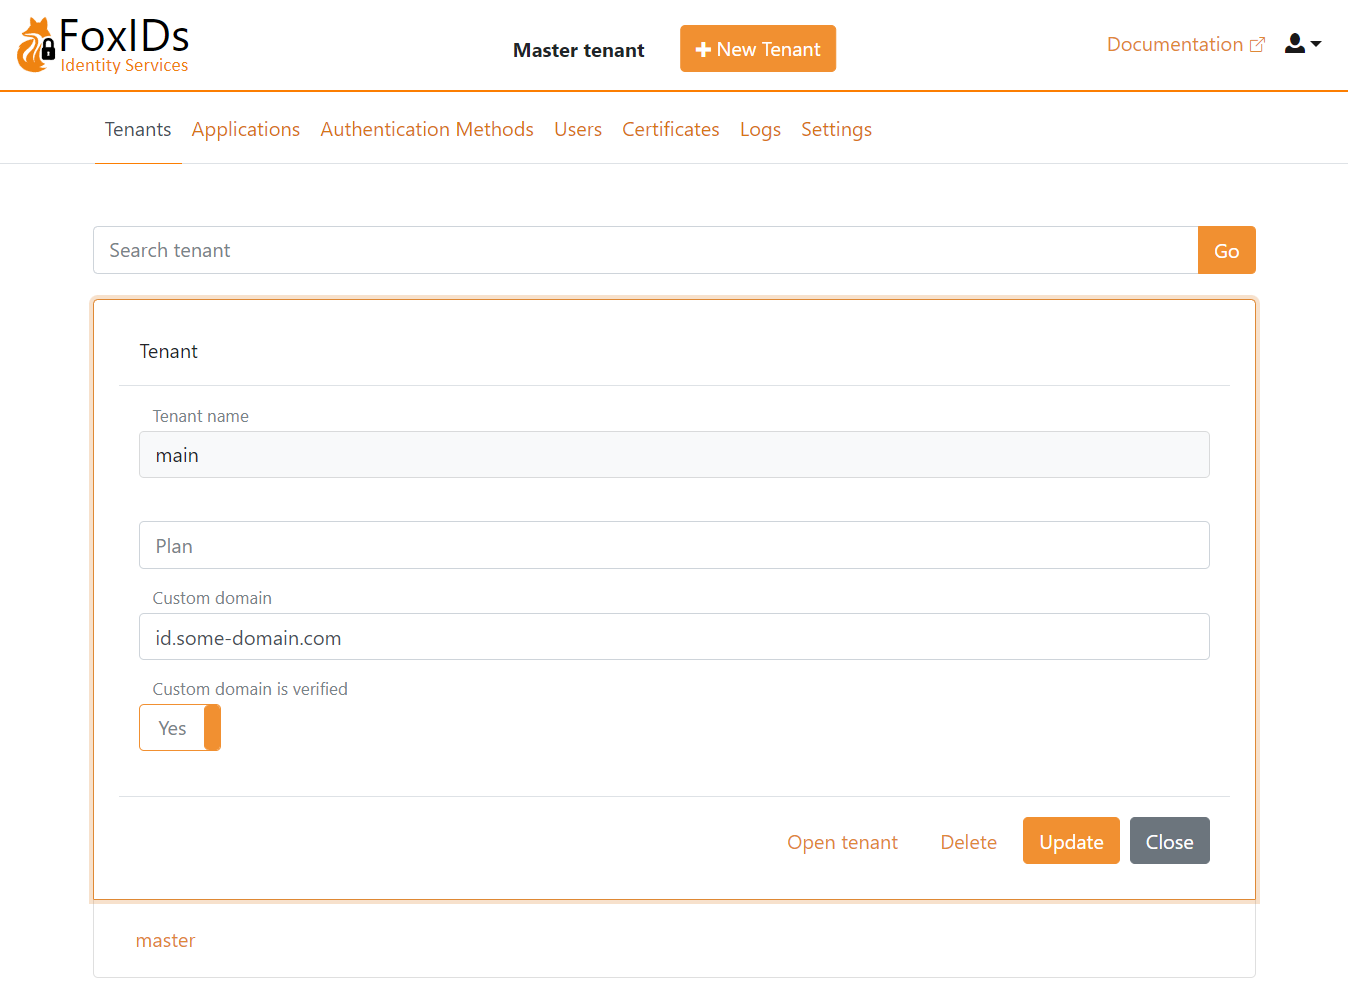
The custom domain can be configured with Control Client in your tenants master environment under the Settings tab and the Tenant settings sub tab.
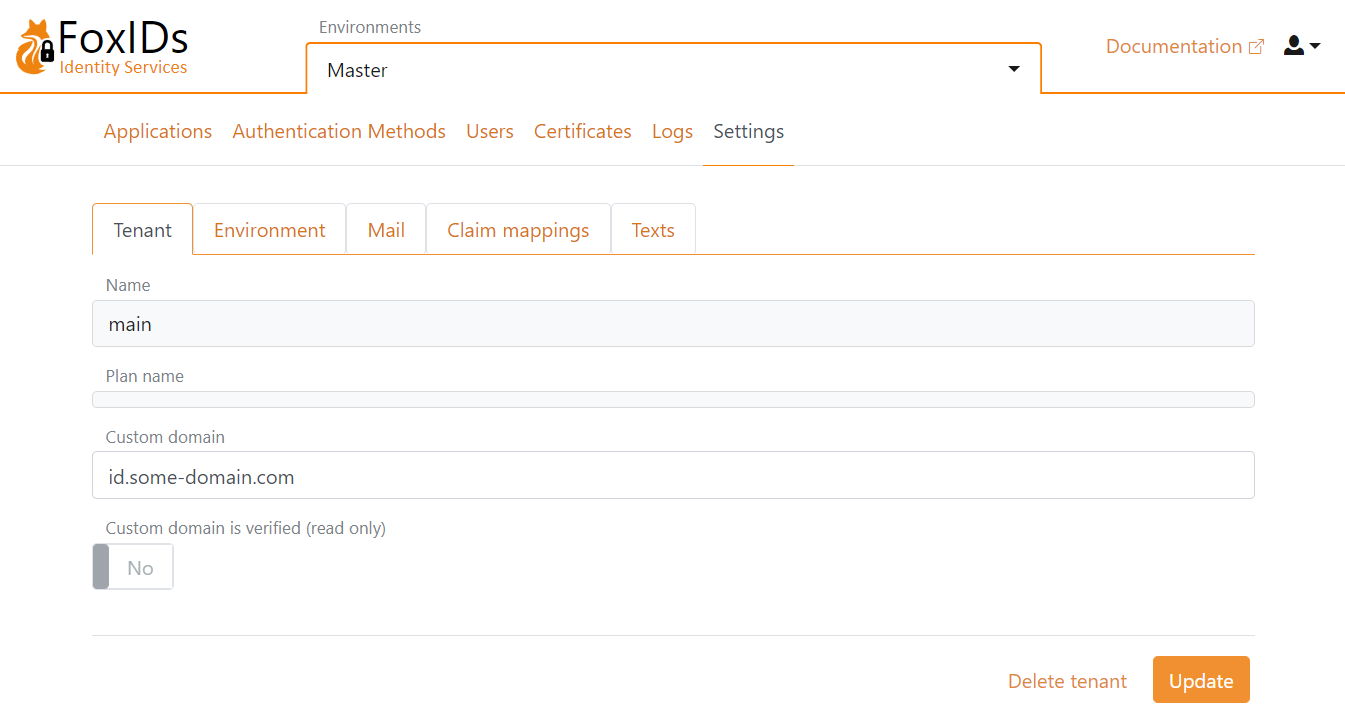
When a new custom domain is added it needs to be verified. After verification the domain is enabled in all environments in the tenant.
Custom domains is not supported in the master tenant and master environments.
FoxIDs Cloud
Configuring a custom domain in your FoxIDs Cloud tenant.
Steps:
- In your DNS, add a CNAME with your custom domain and the target
custom-domains.foxids.com - Optionally configure your custom domain in your FoxIDs tenants master environment (otherwise configured by FoxIDs support).
- Write an email to FoxIDs support (support@foxids.com) and ask us to add your custom domain.
- After successfully verification your domain become active.
Your own private cloud
Custom domains can be configured on tenants in the master tenant using the Control Client and Control API. Where also the domain can be marked as verified at the same time.